iPhone · TestFlight · free while in beta · Android next
What it does
Tether the camera and the phone becomes a big, bright
viewfinder you can actually work from, whether it is mounted on the hot
shoe, clamped to a tripod, or held in your hand.
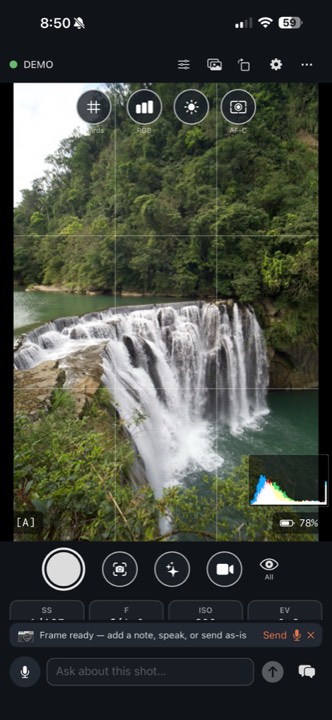
Live view, full size
The camera's feed on your phone, with grids, a live histogram and
clipping warnings.
Tap to focus
Touch the picture and the camera focuses there. No hunting for the
joystick.
Exposure by touch
Shutter, aperture, ISO and compensation. Step them or open a dial.
Browse the card
Every frame on the camera, full screen, pinch to zoom, download as
JPEG even from RAW.
About the coach
This is the part people ask about, so here it is plainly.
Aperi never touches your photograph. It
doesn't generate images, retouch them, or edit anything. It reads the frame
you're composing and the settings you're using, and tells you what it sees,
the way an instructor looking over your shoulder would. The shot stays
entirely yours.
It knows your settings
Not guessing from pixels. It reads shutter, aperture, ISO and focus
mode straight from the camera.
It knows your bag
Tell it which lenses you brought and it can suggest switching to one
you actually have with you.
It speaks
Ask out loud, hear the answer, keep your eye where it belongs.
Setting up
Rig it once and the phone becomes the back of the camera
for the rest of the shoot.
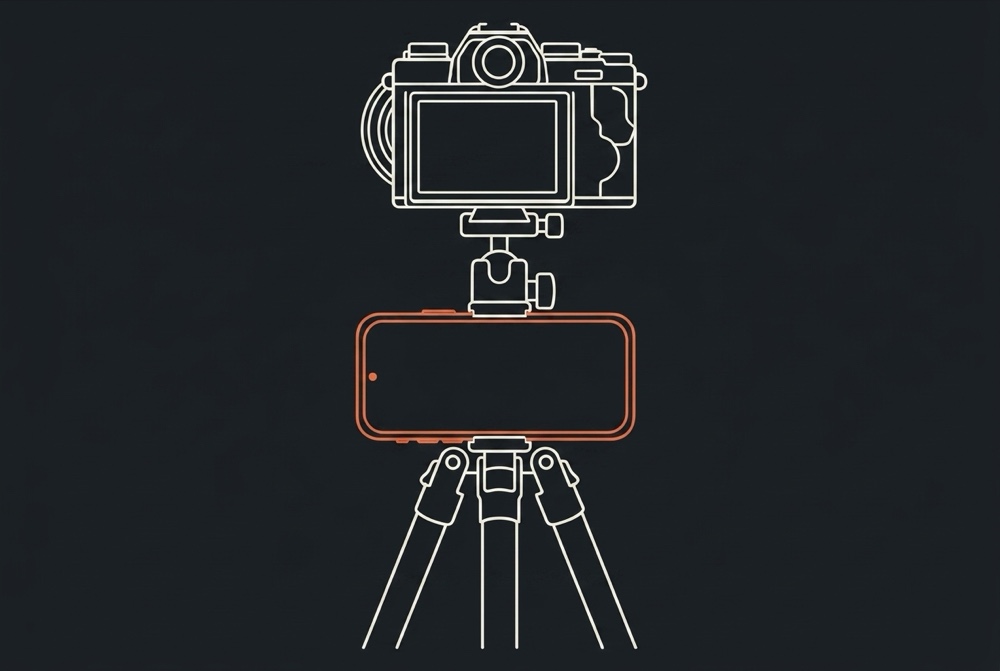
01Put the camera on a tripod
or a strap, and clamp the phone where you can see it.02Join them with a USB-C
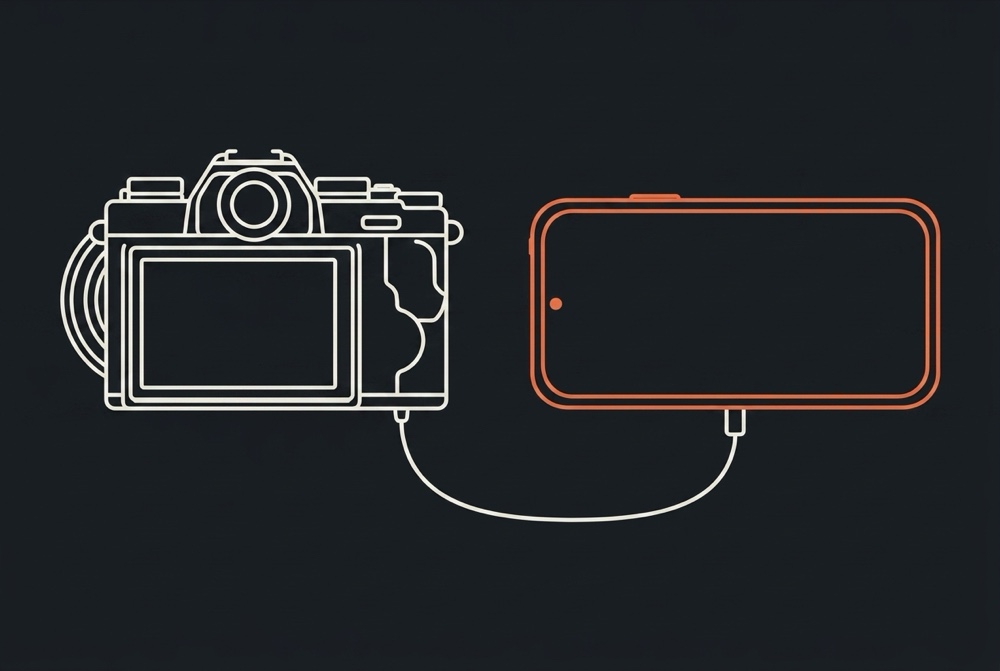
cable, or over Wi-Fi if you would rather not have one.03Frame it on the phone, tap
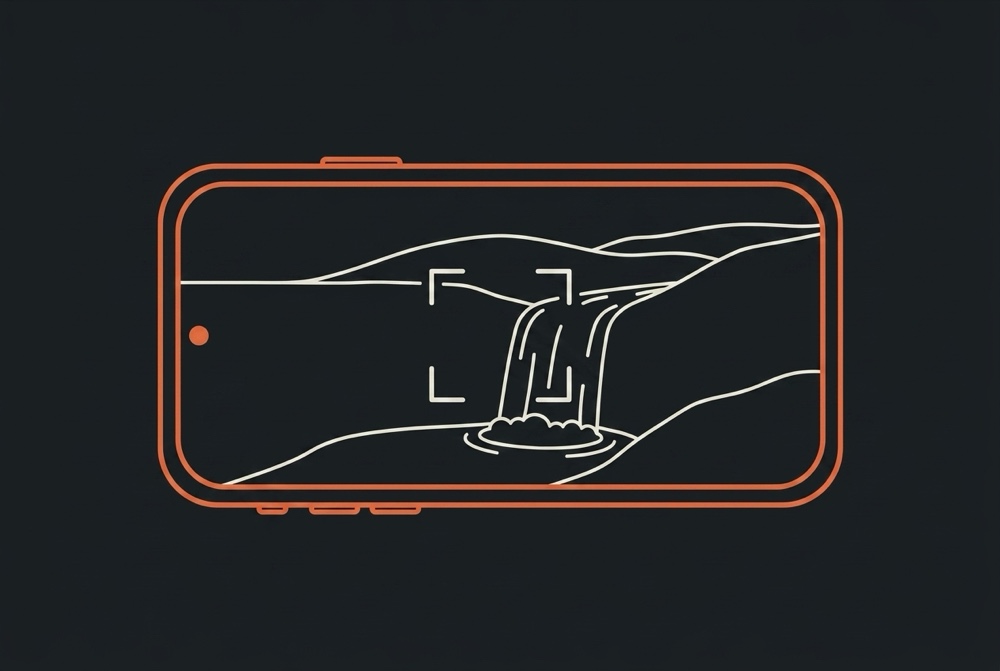
where you want focus, and shoot without touching the camera.
How it works
Three taps, on the phone, while the camera stays on the
tripod.
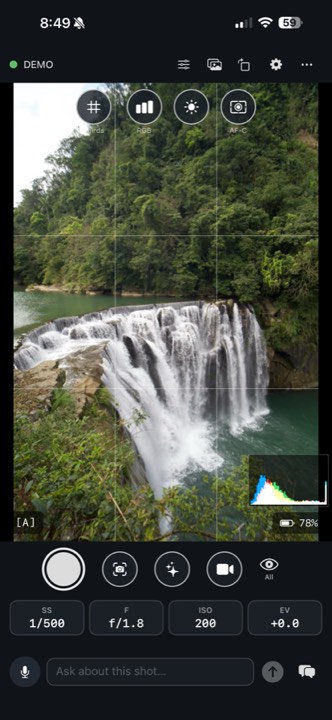
01Your camera's view, on the phone.
Grid, live histogram, exposure across the bottom.02Tap the sparkle. Send the frame as
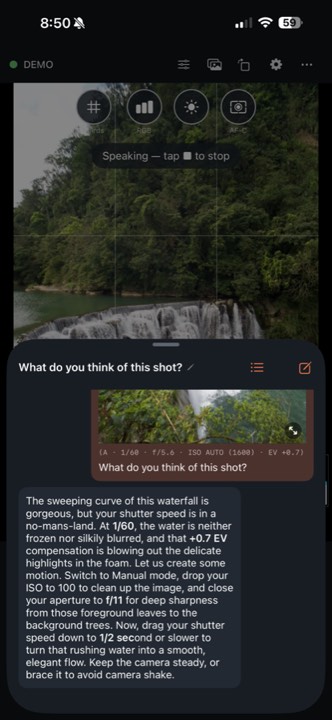
it is, type a question, or just say it out loud.03The answer, read aloud if you want
it. Your settings are stamped on the question, so old threads still
make sense.
A real exchange, captured on an iPhone. This walkthrough
uses the built-in demo camera, which is why the settings on the question
are the demo's rather than the photograph's original ones, and also why you
can install the app and try all of this before your camera arrives.
Two real sessions
Both of these happened. The coaching quoted is what the app
actually replied to the first frame in each pair, written before the
second photograph existed and checkable against the EXIF.
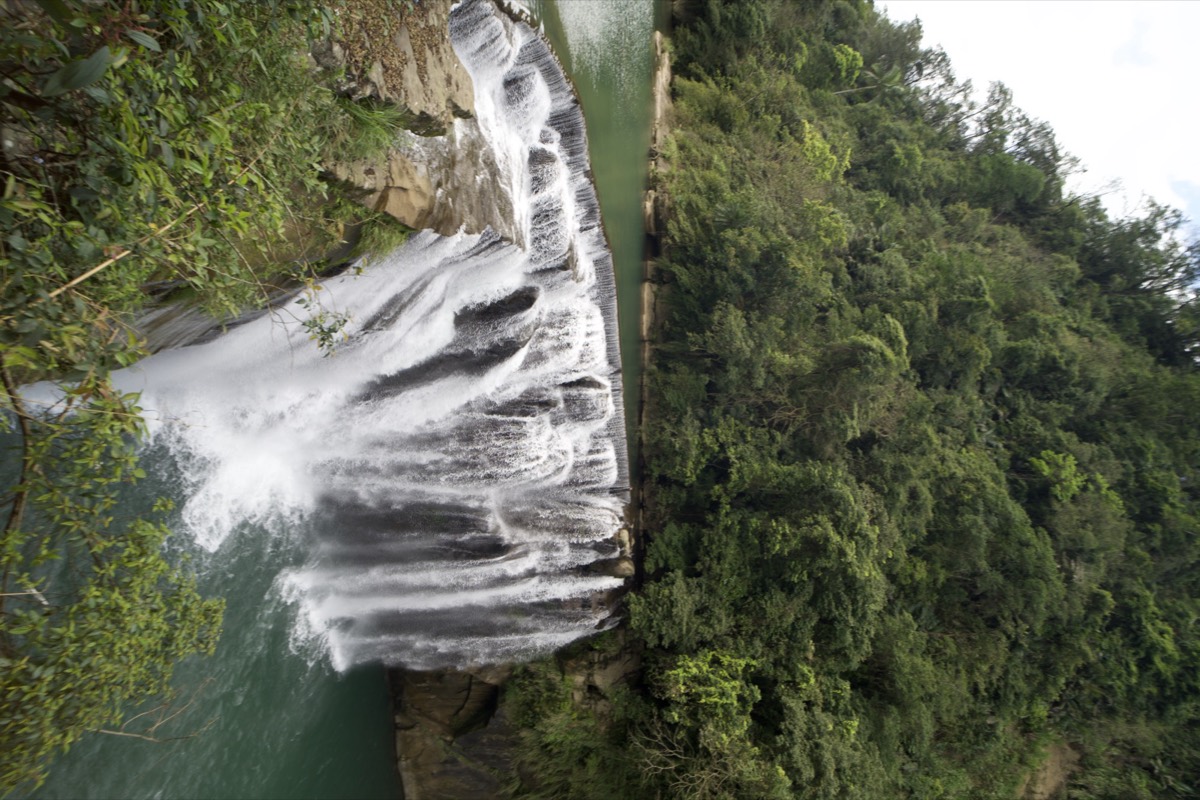
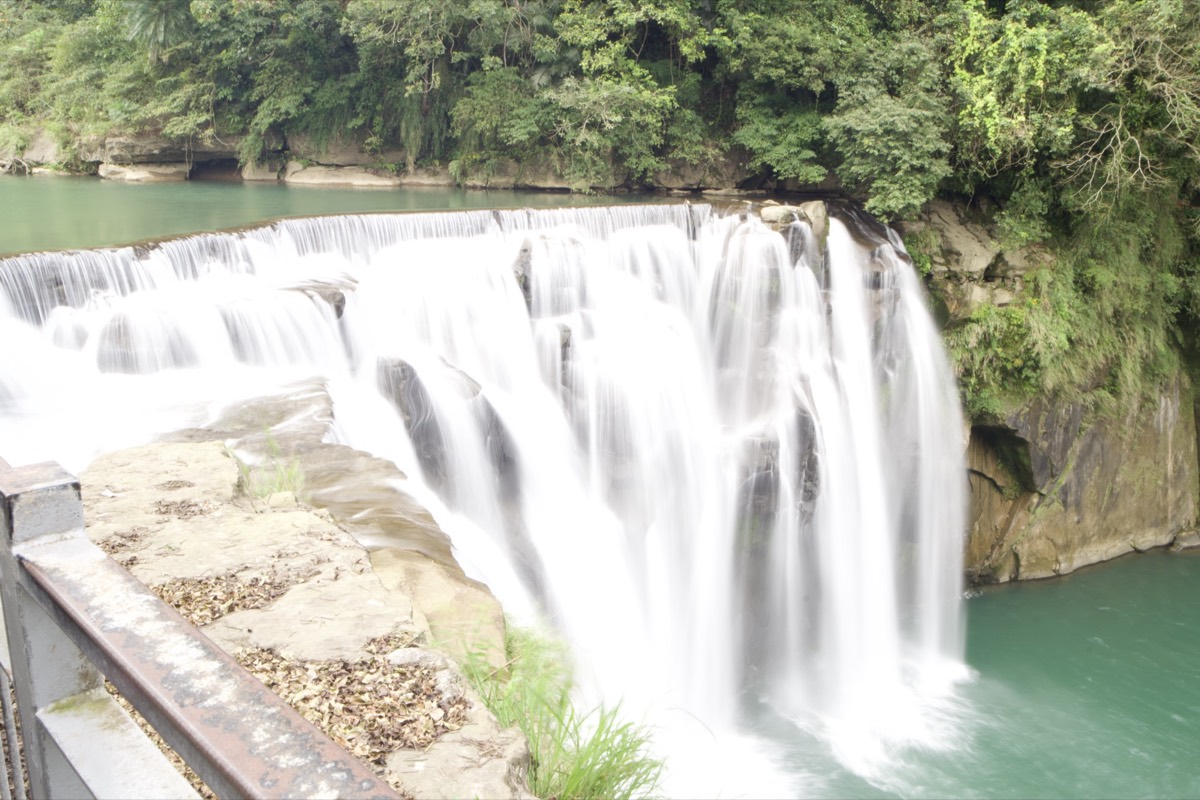
Shifen Waterfall: moving water
Before1/50s · f/8 · ISO 100 · 18mmAfter1/2s · f/22 · ISO 100 · 18mm
The coach
The main issue is your shutter speed of 1/50. It is in
a no-mans-land for moving water, making the falls look messy rather
than intentional.
To get that classic, silky water, switch to Manual mode, keep ISO 100,
and close down to f/16 to force a longer shutter speed,
aiming for 1/2 or slower. You will need a tripod.
You either freeze water completely at 1/1000 or paint
with it at 1 second. Let us slow it down.
The advice named 1/2 of a second; the next frame was shot
at exactly that. Both on the same 18mm prime and ISO 100, so three stops of
aperture bought the slower shutter. The framing changed too: APS-C crop mode
was switched on and the tripod moved a step closer, so the water is not the
only difference you are looking at.
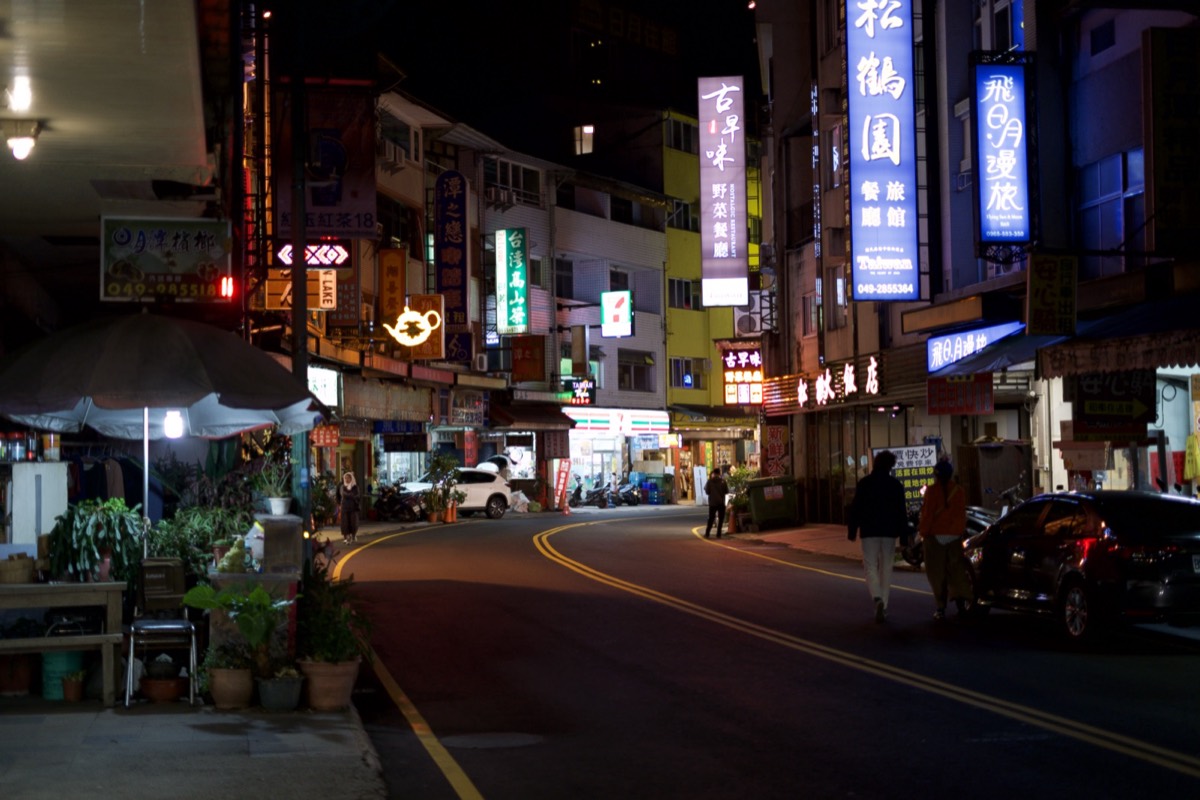
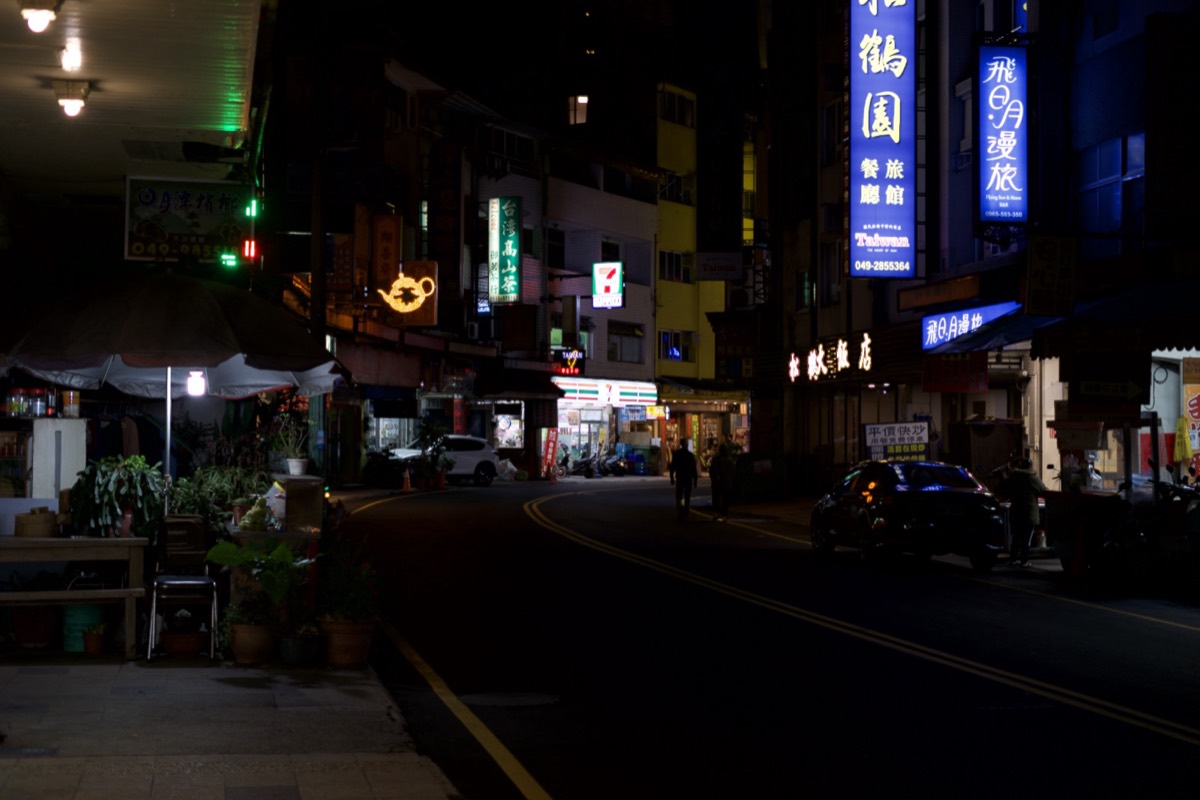
Night street, Taiwan: where the colour lives
BeforeA · 1/125s · f/1.8 · ISO 800AfterM · 1/60s · f/2.8 · ISO 400
The coach
Your brightest highlights, like those blue and white neon signs, are
completely blown out.
In night street photography, colour lives in the highlights. Because
you are in A mode at exposure compensation 0, the camera is trying to
make the dark asphalt neutral, which overexposes the signs.
Dial your exposure compensation down to -1.3 EV. This
will protect those rich neon colours and clean up your shadows.
Let the darkness frame your light.
The advice asked for about a stop and a third less
exposure; the frames measure 0.99 EV darker. The camera also
moved to Manual, which stopped auto-ISO wandering between 800 and 3200 from
one frame to the next, and stopping down to f/2.8 put more of the street in
focus. It is meant to be darker. That is where the neon gets its colour
back.
Connecting
USB-C most reliable
Set the camera to PC Remote and plug in. It connects on its own.
Wi-Fi
Phone and camera on the same network.
Wi-Fi Direct
The camera makes its own network. Works anywhere.
Which cameras
The honest list, because nothing is more annoying than
installing an app that turns out not to see your camera.
Camera
Status
Sony A7 V (ILCE-7M5)
WorkingTested on real hardware before every release.
USB-C and Wi-Fi.
Sony A7 IV · A7R V · A7C II · A1 II · A9 III · A6700 · ZV-E1
In testingThese share the Sony protocol the A7 V uses, so
they ought to work — but "ought to" is not "does", and we have not
had one in hand. Beta testers with these bodies are how this line
turns into the one above.
Nikon Z series
Next upAnother developer building a remote app reports
Nikon's PTP working for them. That is secondhand and about a
different app, so treat it as a reason we are looking, not a
promise that we have.
Canon EOS R series
Testing in progressCanon uses its own PTP extensions rather than
Sony's, so this is real work, not a switch to flip. No date.
The coach works the moment you open the app — no API
key, no account. A few free messages a day are on us. If you would
rather use your own key from Google, Anthropic or OpenAI, you can:
it stays on your phone, your photos go straight to the provider you
chose, and it is free and unlimited. Everything else — live view,
focus, exposure, the card browser — never needed either.
TestFlight · free while in beta · Android is being stood up
next. Testers with a Sony body other than the A7 V are especially
welcome — that is how the list above gets shorter.
 Aperi
Aperi